Food Photography Tips. A Beginner’s Guide to Shooting Food Photography using Natural Light.
If you’ve been wanting to take your hobby of food photography to the next level, we’ve got just what you need! This simple to read article is about delivering a small selection of food photography tips for beginners, that will be the cornerstone of everything you do as your techniques develop. It’s that simple.
There are no hidden tricks. These food photography tips are tried and tested… and they work, so there’s no excuse not to whip up images that will tantalise everyone who sees them. From arranging and styling your plates in photogenic ways to understanding natural light, good food photography can be achieved without the need for multiple lighting set ups and without the need for dirty tricks… Which we will cover in a completely separate article linked below.
Here are six expert-level Food Photography Tips that will help any amateur take his or her pastime further and capture mouthwatering shots of favorite dishes. So get ready – let’s explore these amazing edibles through the lens with some seriously awesome photographic techniques!
Natural Light? The Photographer’s Best Friend.
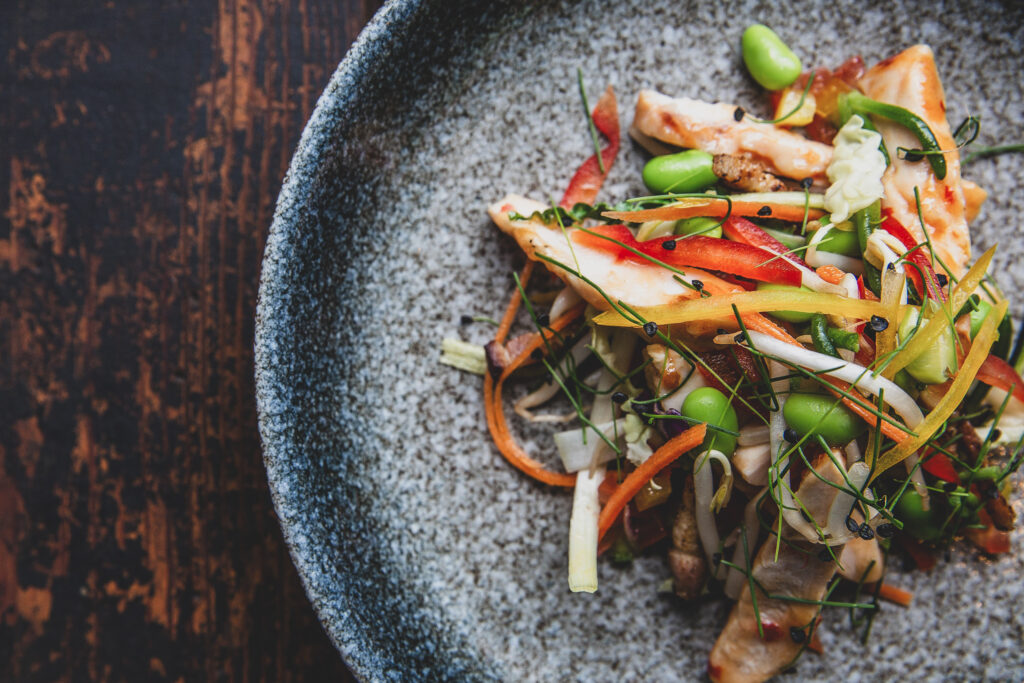
At Blanc Creative, we’ve been shooting Creative imagery for every possible sector of the hospitality industry for over ten years and the most prominent of our Food Photography Tips is ‘Use Natural Light’. It’s a personal preference and many studio photographers will no doubt disagree and of course there are times where advertising campaigns or briefs will require more than natural lighting techniques.
But we’re not here to talk about that. This article is about giving a few professional food photography tips to assist you in the first steps of your journey to develop your culinary image skills. Harnessing the power of natural light is our most important food photography tip.
And the best part? It’s absolutely free!
If you’re looking for food photography tips to elevate your images, remember this golden rule: Natural light is your best friend. Natural light has a unique ability to bring out the vibrant colours and enhance textures. It casts gentle shadows that add depth and dimension and can transforming your dishes from mere meals into stories waiting to be told. So next time you’re ready to snap your next food masterpiece, pull up a chair by the window, and let the sun do its magic.
You’ll be amazed at the results! When you’re looking for natural light sources, remember that not all natural light is created equal. The quality of light changes throughout the day, and this will definitely impact on the quality of your photography. If you’re going to be shooting outside, a good food photography tip is aiming to shoot in the early morning or late afternoon when the light is soft and diffused.
Harsh, bright light will lead to overexposure and a need to use artificial lighting to fill in, which will detract completely from the term ‘naturally lit photography.’ Side lighting is your friend in food photography as it creates beautiful shadows and depth. Avoid direct sunlight from the front as this can wash out your image and blow out the highlights.
If you’re shooting outside on a cloudy day, this can give great results. Cloud acts as a natural diffuser and you can always tweak image temperatures later if they look a little cool.
Shoot Indoors for More Control
Look through the top restaurants and foodie websites and you will immediately notice that a high proportion of food images are creatively shot inside. If you’re shooting for a commercial client, there’s a very good chance that they will want their imagery to reflect the ambience and environment of their workspace, whether it’s a restaurant, a cafe, a bar or or deli or food shop.
his will give you huge advantages, because it will eliminate any unwanted direct sunlight. Embrace low light situations and make them work for you. Scout your location before you arrive. Visit your chosen location across a few hours and you’re likely to find a number of perfect locations than will harness non-direct sunlight. This gives you more creative scope and also means you don’t have to rush your shooting schedule. Different backdrops in one location will provide continuity with being repetitive as our examples below show.
Food Photography Tips – Buy a Reflector
One of our biggest food photography tips is to invest in a good quality reflector. These game-changing tools will transform your images into mouthwatering masterpieces that attract clients with their irresistible appeal. You donlt have to pay the earth, but the ‘buy cheap, buy twice analogy has served me well over the years.
Positioning a reflector strategically opposite your light source, will bounce light onto your subject, casting out shadows and revealing the delicious details that make your taste buds tingle.
Reflectors offer awesome versatility. In fact, we wouldn’t ever leave the studio for a naturally lit shoot without one. Choose your diffuser carefully with a dual sided white and warm version and you have the best of both worlds. Reflectors donlt have the cost of studio lights, allow more consistency in your shooting and can be carried anywhere extremely easily.
Don’t be afraid to experiment, explore different angles, and experiment until you’re happy with how to use your new best friend.
Use Completely Free Backgrounds
Think about the story you want to tell with your images and how these meet the requirements of your client. One of our great photography tips for food is to ensure the right background creates the best moodier your images. Backgrounds delivers emotion, and even transports you to a different place or time. Reflect the style of the food you’re shooting.
If you’re photographing an Indian Dish, you wouldn’t photograph this in a Mediterranean styled environment. It’s slightly easier when you have a commercial assignment, because the client will have their own ambience and environments that is representative of their dishes or beverages or products.
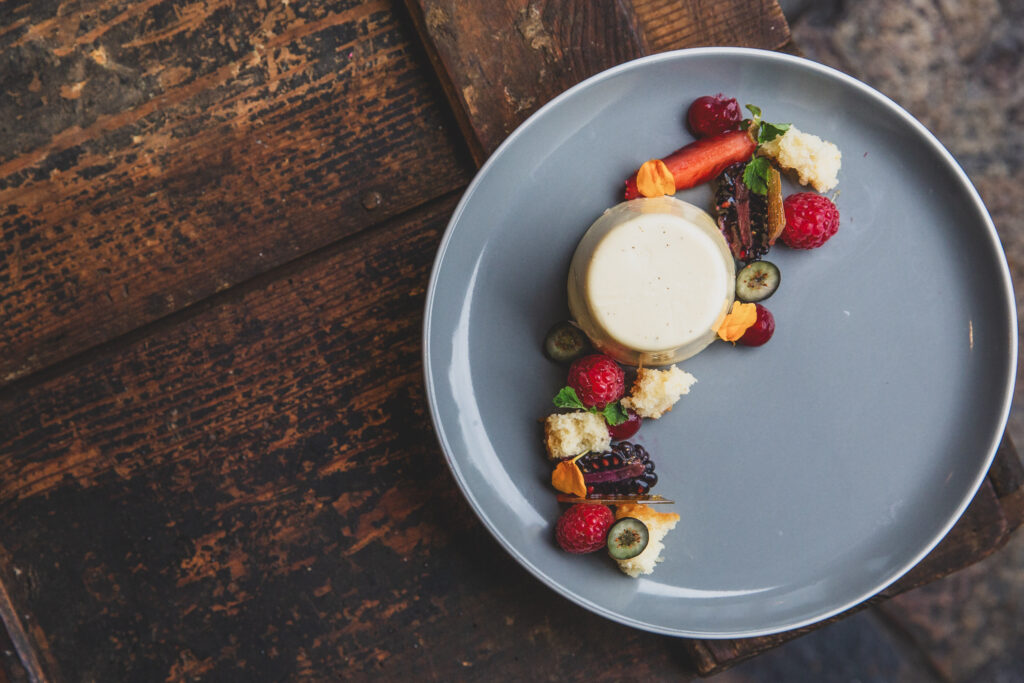
For example, a rustic wooden table can give your photo a cozy, homely feel, perfect for comfort food dishes. A sleek marble surface, can add a touch of elegance to a la carte menus. Don’t be afraid to experiment with different textures and patterns, too.
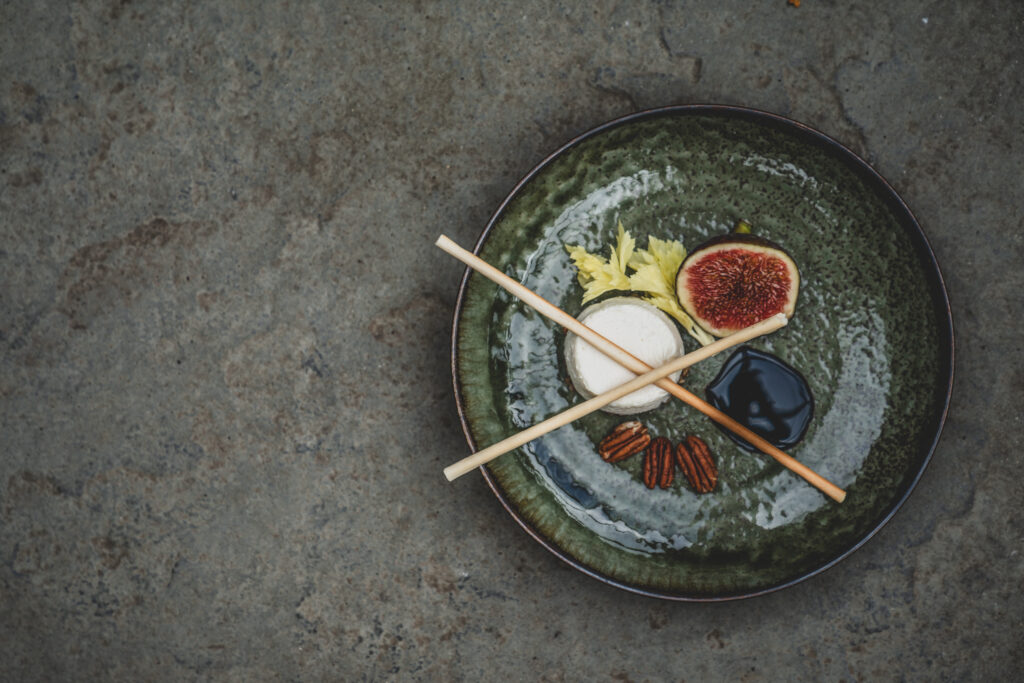
At Blanc Creative, we utilise flooring regularly. Natural wood or natural stone tiles make for perfect backgrounds. Set up near a glass door with natural light and a reflector and you have the perfect environment to shoot your gastronomic images.
Angles are everything but there is a Hero – Probably one of our very best Food Photography Tips
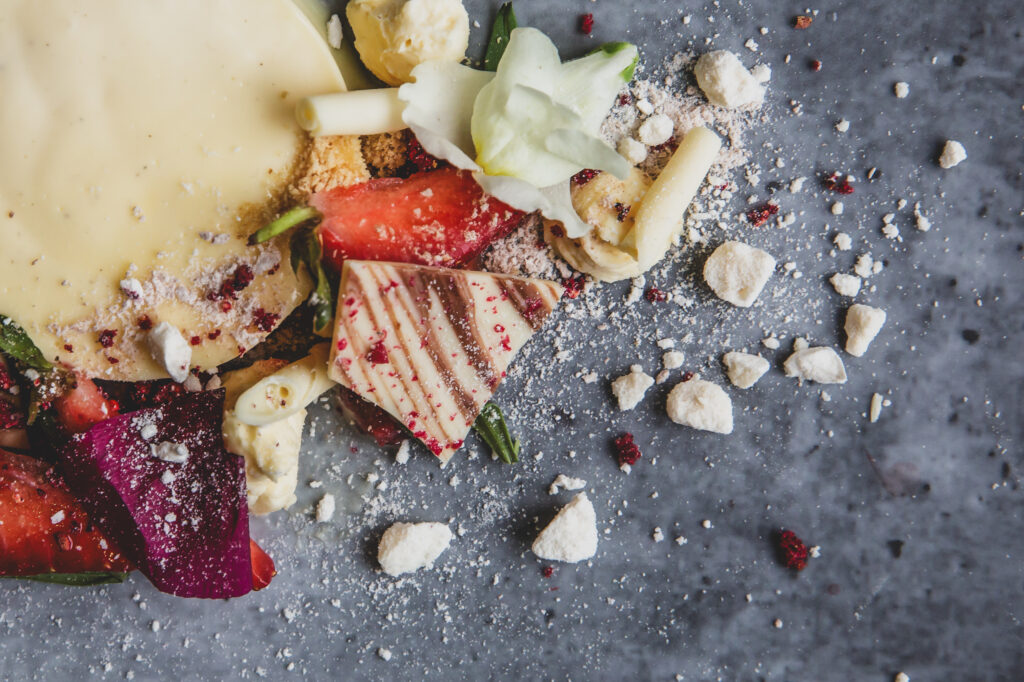
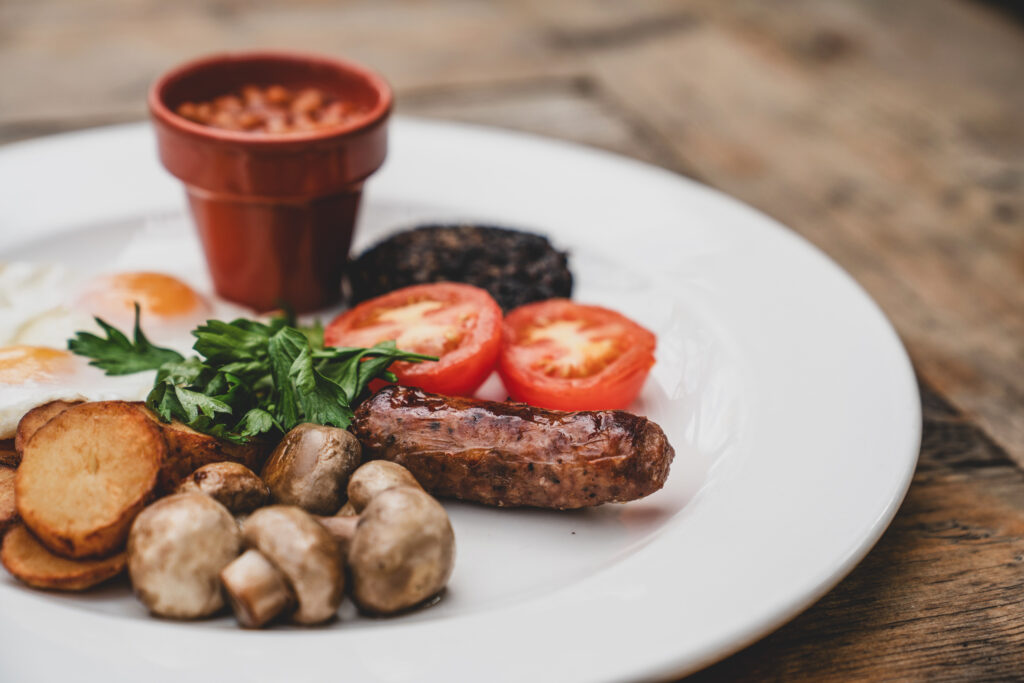
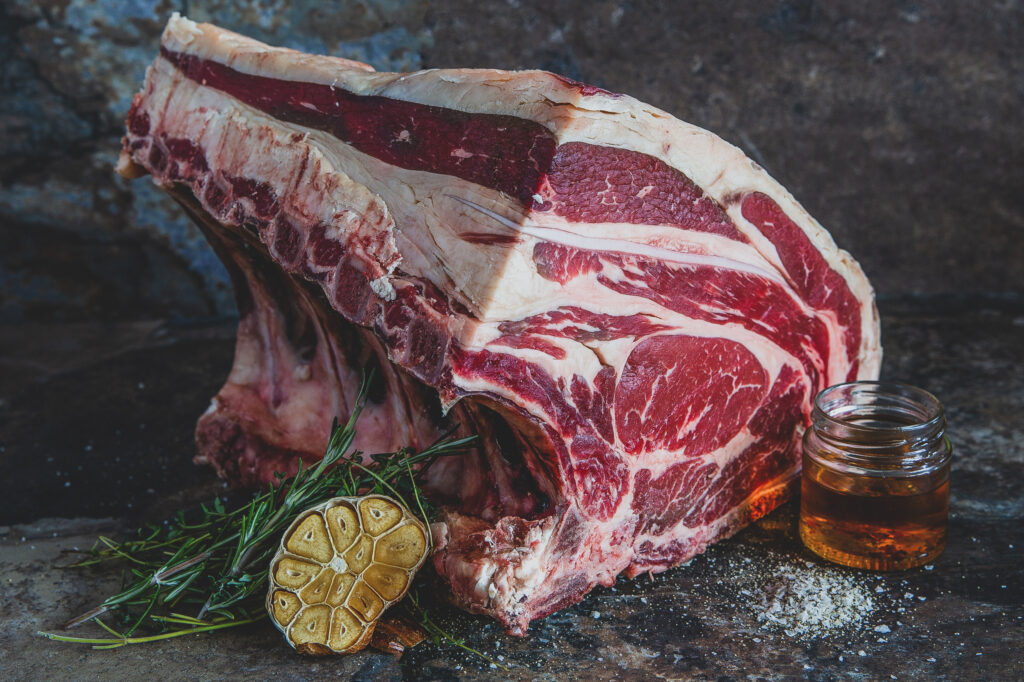
The ‘hero shot’ reigns supreme in the food photography world. Captured from a 25-75 degree angle, it captures the attention of viewers, making them feel as if they’re about to savour the dish themselves. It’s personal, inviting, and guaranteed to make mouths water! aim just a little higher and the overhead view brigs a new dimension that makes your food photography scream ‘Eat Me!’
An important Food Photography Tip is to shoot what you enjoy and don’t always stick to a prescribed list. There are always winning shots and losers. You wouldn’t shoot a plate of food directly from the side at table level unless it’s a high, beautifully constructed dish that requires scale. Adopt a common sense approach and as you develop your style, you will see what works and what doesn’t.
High-angle shots showcase dish layouts, while low-angle shots emphasize height and grandeur. Side shots work perfectly for layered delights like lasagnas and cakes.
And let’s not forget the power of close-ups! They allow you to focus on the textures and details that make each dish unique, telling a story that goes beyond the plate.
And Finally… Depth of field
You’re on this article for some practical Food Photography Tips so I really think we’re past the stage of having explain what depth of field is…
Remember, in food photography, you need enough content to be in focus to create an appealing image. The real secret to breathtaking food photography lies in balance. Make sure enough of your subject is in focus, but don’t be afraid to play with different apertures and explore the delicious depths.
Hero shots at F4.0 – 5.6 will generally look good, but if you’re shooting on the corner of a table and wish to blur out the floor, you may want to go slightly more shallow. Pulling key ingredients to the front on well-plated dishes, will showcase individual ingredients that may be the star of the show.
In Conclusion
Every commercial food photographer has their own style and that may not be yours, so practice, then practice some more until you absolutely fall in love with the results you’re achieving. With only a handful of Food Photography Tips, you can create gorgeous photos that tell a delicious story and you don’t need an expensive lighting set-up or a studio.
So grab your camera, find your perfect spot, and start getting creative.
Like what you’ve read?
If you’ve enjoyed reading this article, why not head across to our Framing the Future Page where you’ll find articles from every conceivable corner of the creative spectrum. You can view our Professional Food Photography Portfolio Here.
How about learning how to create Food inspired Short-Form Videos because we also have a blog about that.
And as if that wasn’t enough, if there’s a particular subject that you’d like to see in one of our future articles, or you’d just like more Food Photography Tips, drop our team an email at E: studio@blanc-creative.com
About Blanc Creative
Blanc Creative are a well established, Norfolk based company that excels in producing exceptional photographs, affordable video content and really great podcasts for all sorts of companies across the UK and further afield.
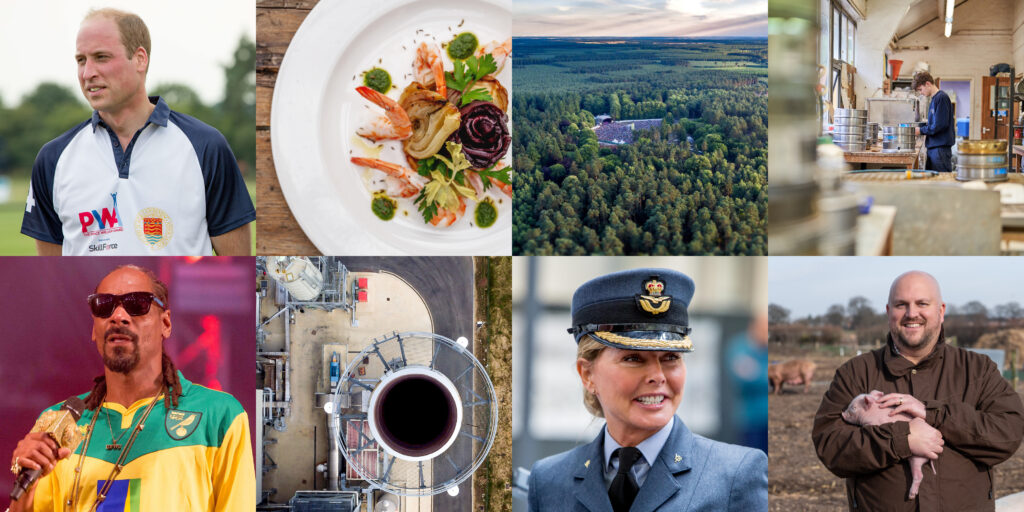
Our food photography portfolio includes food manufacturing companies, private chefs, butcheries, restaurants and gastro pubs to name just a few sectors of the food industries we work with.
Our diverse portfolio appeals to every sized company, so if you believe our commercial photography can elevate your brand or services to new heights, when not call us. We’re human and would love chat about your visions.

